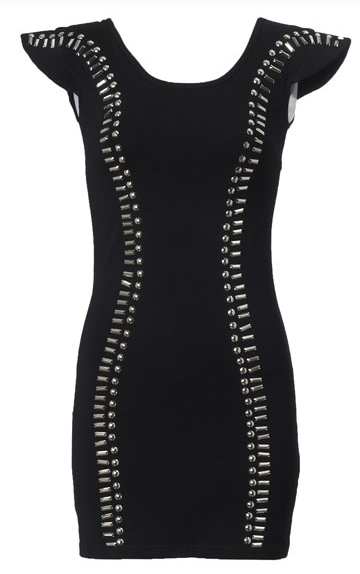
Bling is in & nowdays and overexcessiveness of bling is in as well. As long as it's the main part of the outfit. Don't overdo it now ladies. Lets keep it classy.
Ever heard of E6000 clear industrial strength glue? Simply put. It's the shit. This stuff knows how to hold stuff together. Sure it takes a little drying time vs hot glue (bad idea to wash that girls), but it's WORTH IT! If you have some other glue that you swear by, then use that for this project. If not, go to wal-mart, hobby lobby, jo-anne's fabric, or any fabric/craft store should have this stuff. It's not expensive either. Under $5 for a good amount.
Jewels aren't that expensive either. If you are planning on adding some bling to a lot of things I suggest you invest in hobby lobby's giant bucket of gems for $15.99. It is a little expensive but I'm pretty sure you get like 10,000 gems or something. They come in: different sizes, different colors, all the same size and clear color, etc. If you're planning on just doing this one piece then find some jewels in the craft aisle that come in a little smaller quanity.
This project is also easier if you have a dress form so you can see how the fabric will lie on the shoulders etc.
PUT CARDBOARD INSIDE W/E YOU'RE JEWELING EVERYWHERE BETWEEN THE FRONT AND BACK. You don't want your finished project to be stuck together! O.o
When you start to put jewels on make sure you make it symmetrical (if you want it that way) by copying the placement on each side. If you are super OCD about it looking exact (this would be me) you might want to use a fabric measuring tape to make sure it's all even and such.
Don't over do it with the glue. Yes, it does dry clear but you don't want a bunch of glue spilling out from under the jewels.
Let dry completely for a good 24 hours or how ever long the back of the glue says it needs to dry! You don't want all your hard work to go to waste so be patient.
Good Luck!
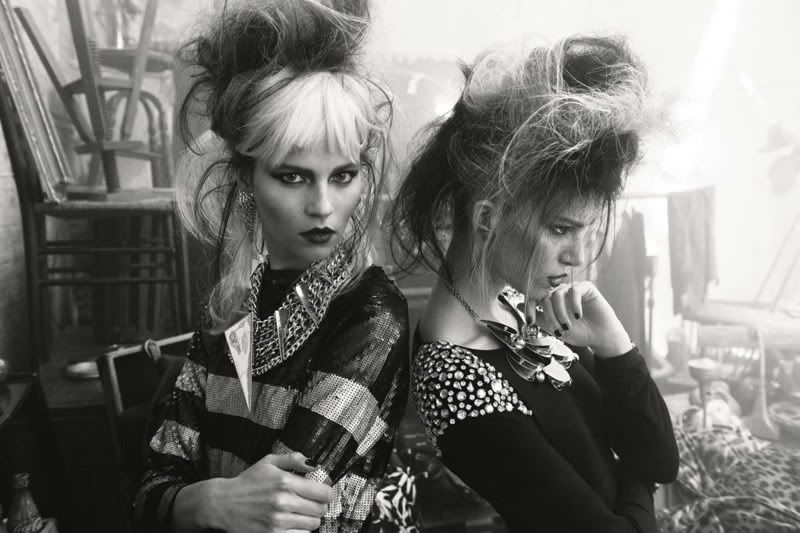
Courtesy of
fashiongonerogue